Thursday, March 31, 2011

Sedona Arizona

For those of you who have not had the experience of visiting Sedona let me explain a little.  Sedona is located just south of Flagstaff AZ in a valley surrounded by rock outcrops and walls of rock.  In my opinion, having never been to the bottom of the Grand Canyon, I imagine Sedona is a little taste of what the view must be from there.

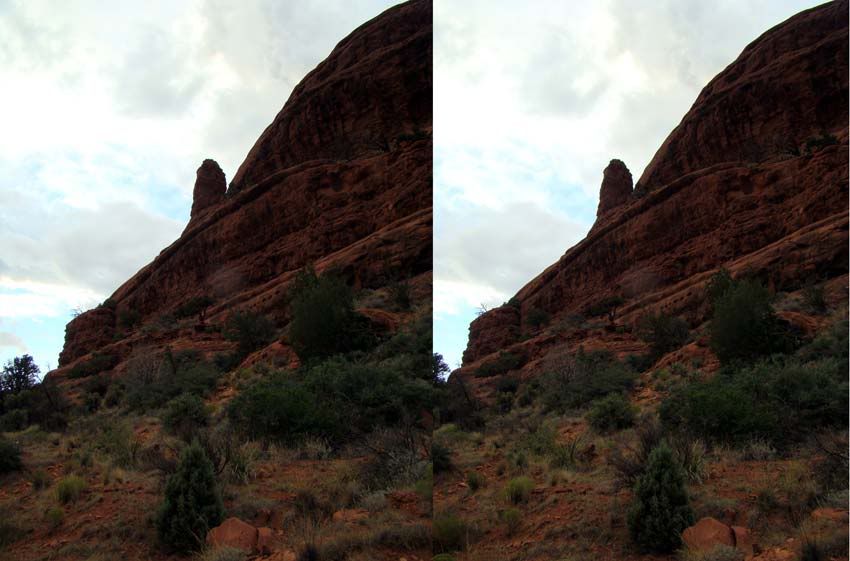
Everywhere you look in Sedona, there are beautiful rock "Mountains" you find yourself constantly looking up at.

I have had the pleasure of visiting many places, but all of them together do not come close to the magestic beauty of this valley.  In the rain, sun, morning, evening... no matter the time, there is always something magnificent to be looking at.

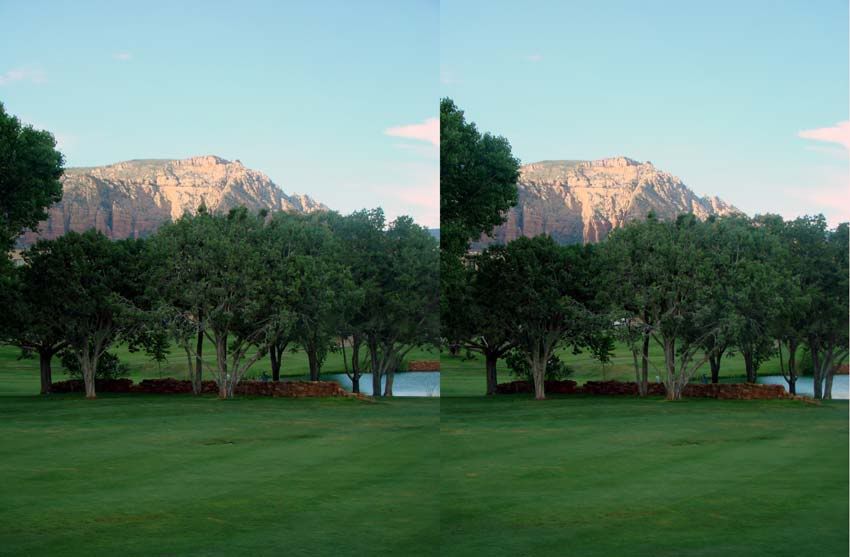
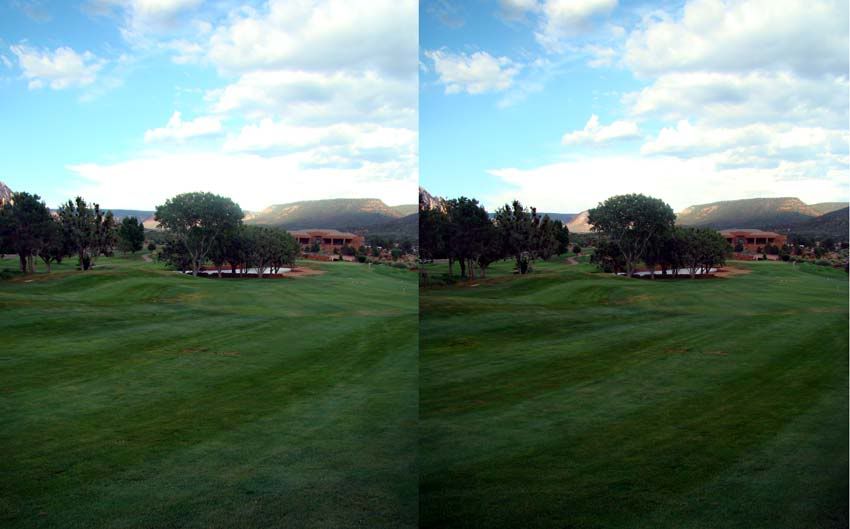
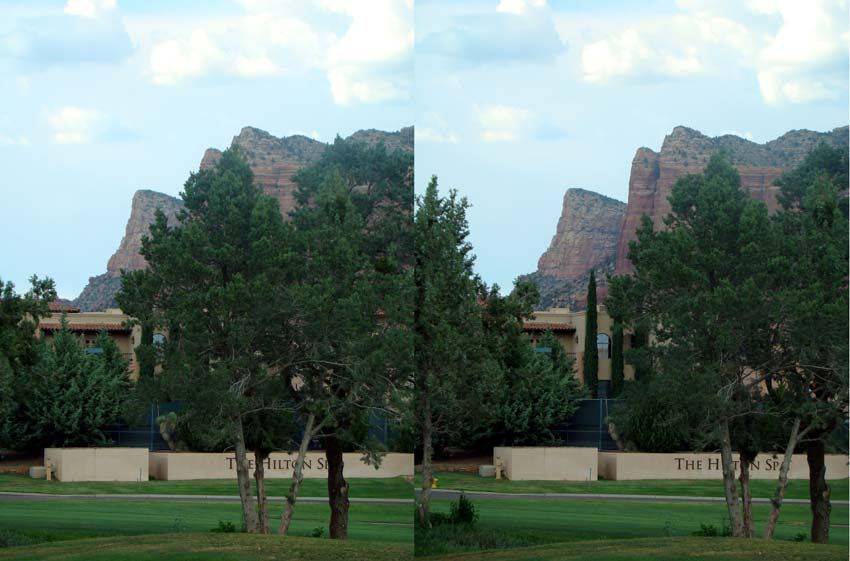
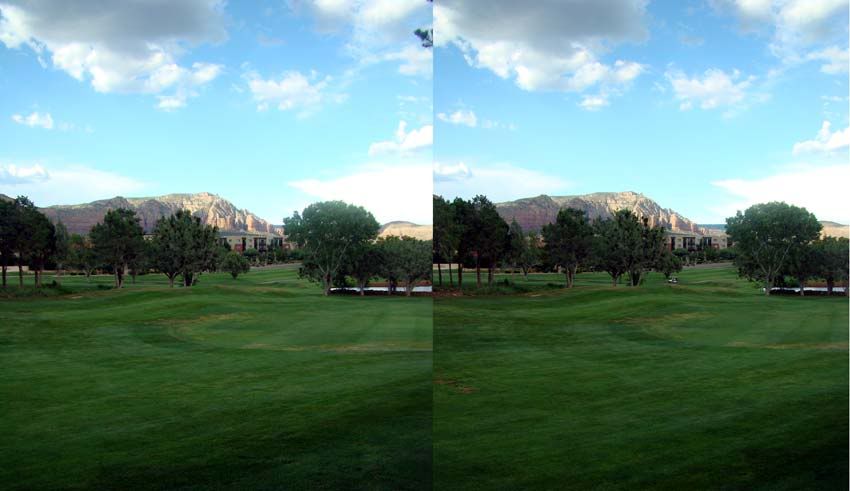
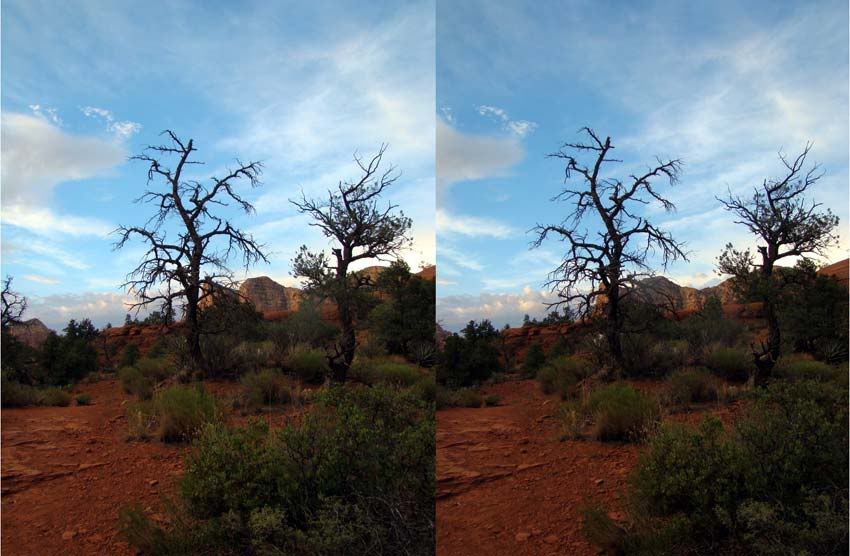
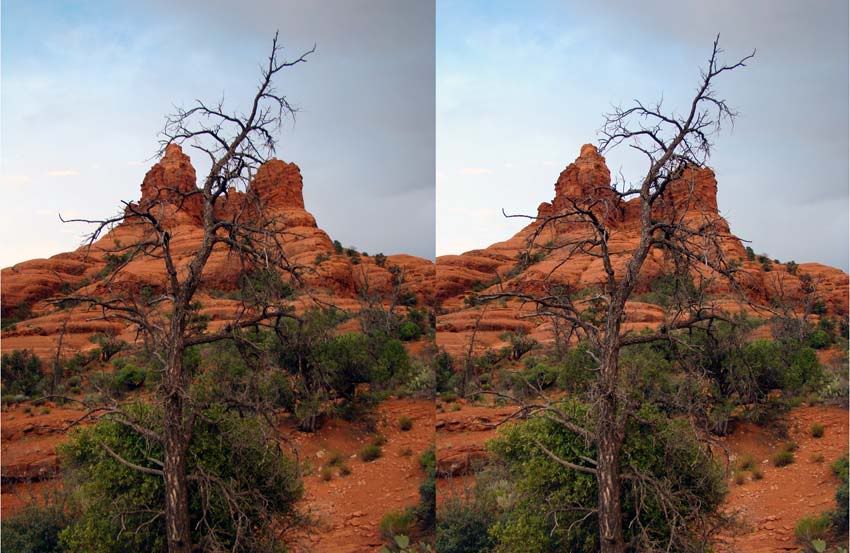
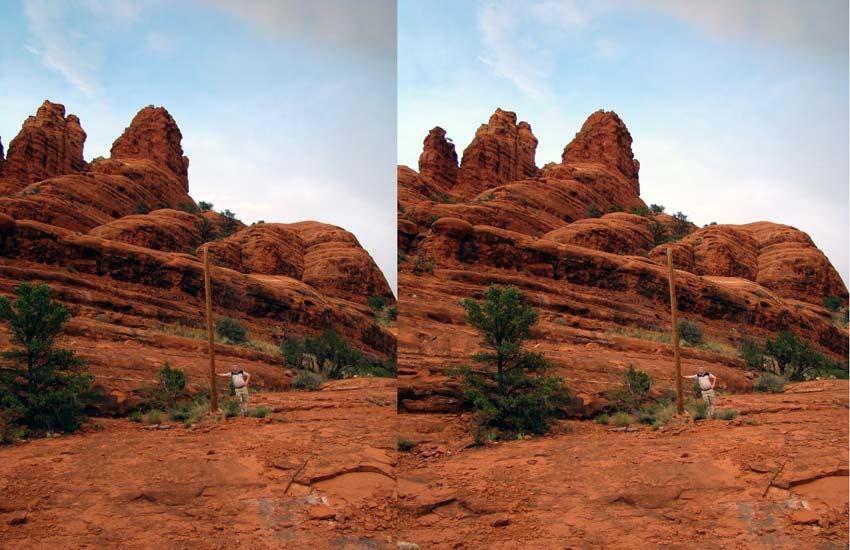
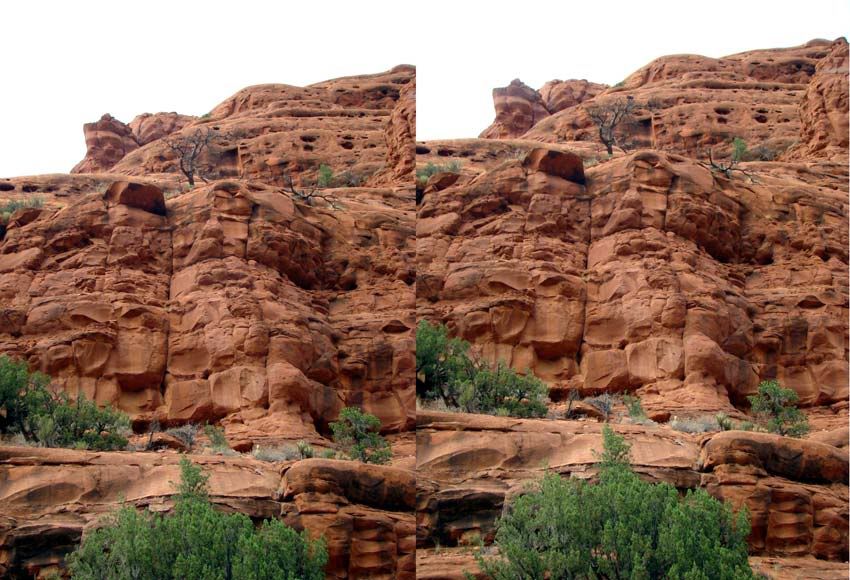
Here are some of the photos I took of this area.

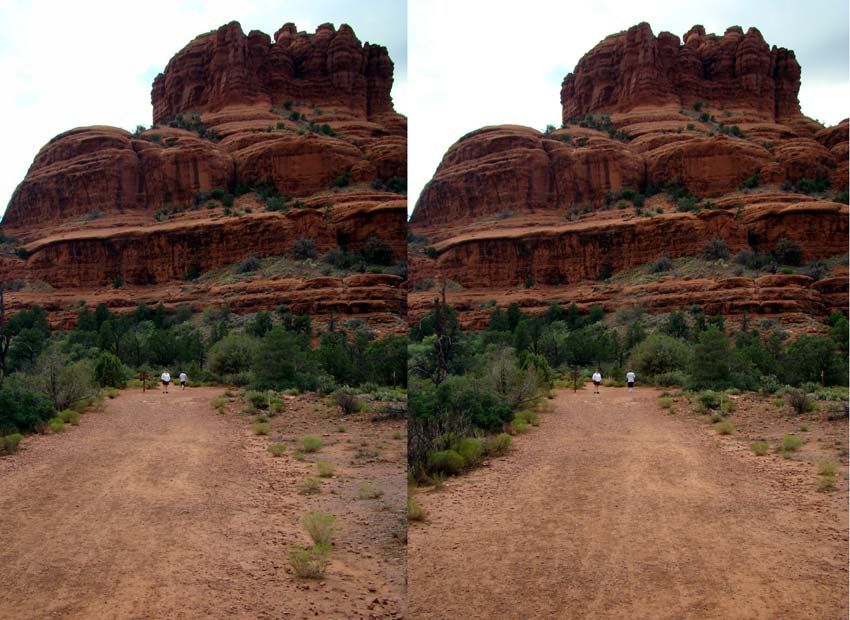
No matter where you are in Sedona you can always see a rock outcrop called Bell Rock:


In the above photo:  Note the tree near the top.  I was always trying to find some way of giving the impression of the sheer size of the rock outcrop.  This tree, which is a large tree, gives you some of that impression.


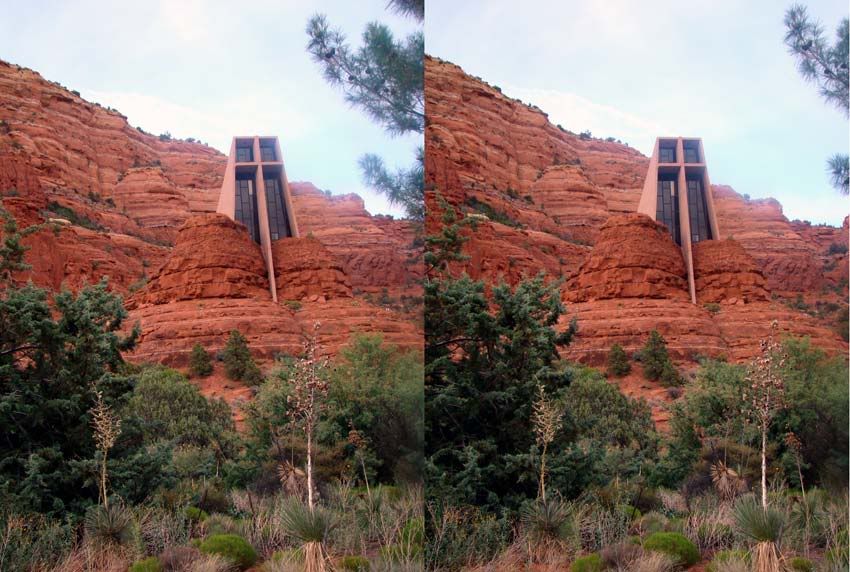
On the south side of Sedona off on a little road, in the middle of a community setting is found this wonderful little church called Chruch of the Holy Cross.  It is built into the rock.  I am still sorry we didn't get the opportunity to visit the interior.


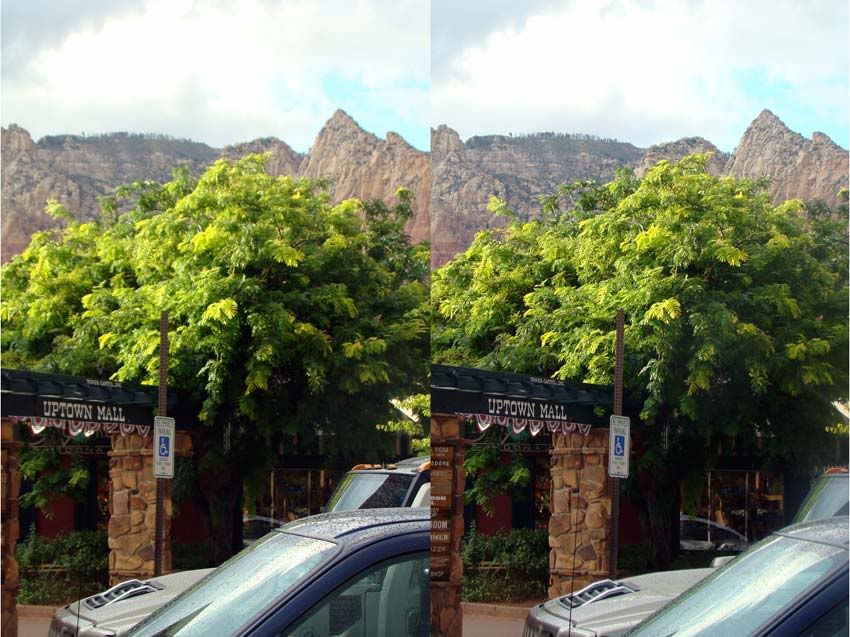
The following photo was taken from the Main Street of Sedona.  It really gives you the feel of the beauty that surrounds this city.

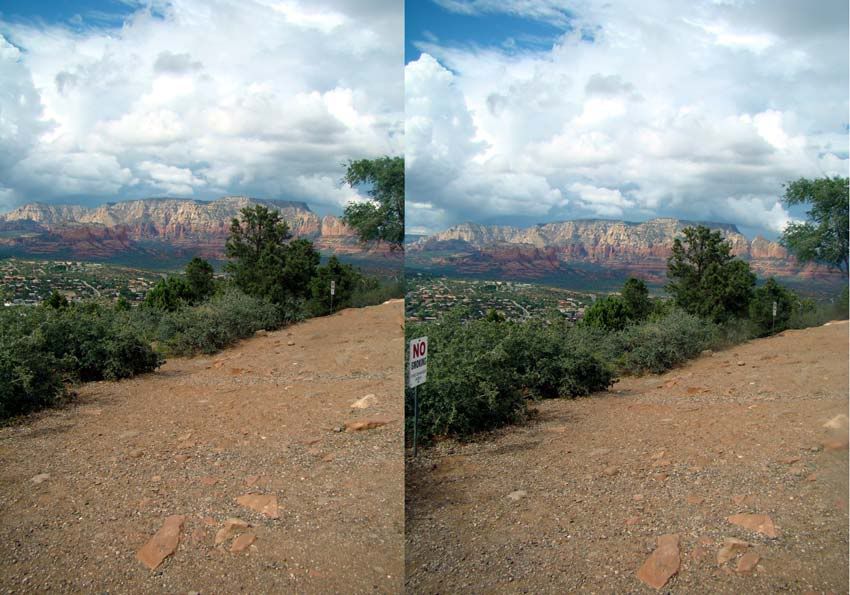
The Sedona Airport in located on top of one of the rock outcrops.  From this location you have a beautiful vantige point from which to see the city below:

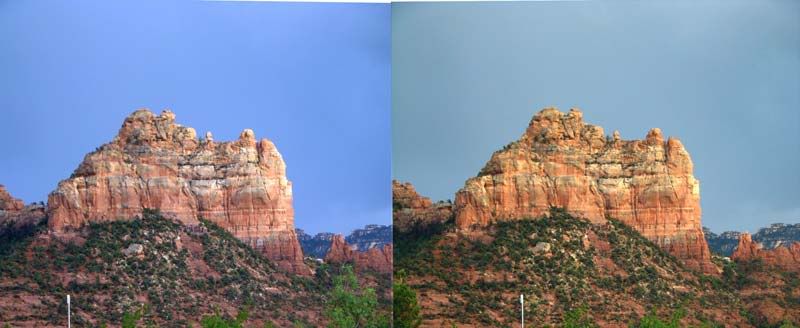
And finally I took this photo of what, I believe, they call Cathedral Rock.  Amazing what the sunlight does as it bounces off the sides of these rocks.


Next Post will be Montazuma's Castle and Montazuma's Well.

Comments are always welcome.

Wednesday, March 30, 2011

Starting at the Beginning

While I call the blog "3D Cruiser" I actucally started this hobbie with a visit to Scottsdale AZ, Sedona, the Grand Canyon and Lake Powell.

Not counting the practice photos I took before the trip these are the first 3D photos I ever took.  I took these to ensure everything was working before encountering the great scenery which I will be posting shortly.

In Scottsdale we stayed at the Day's Inn across the street from the Scottsdale Fashion Square Shopping Center.  In the courtyard of the Inn was a play/park area which included a pool.  We were there in July and the temperatures were well over 115 decgrees thus the pool water was more like a hot tub.


During the evening we went for a drive around Scottsdale to see the sights and came across this beautiful house.  I just had to take a  photo.


The next day we drove from Scottsdale to Sedona.  Along the way we came across Arizona's version of Wendy's.


We have a timeshare that we traded for a resort just on the edge of Sedona.  These are a few views of the outside of the complex.


The inside of our suite was quite nice.  We had what they called a two bedroom unit.  It included a living room, dining room, small kitchen and master bedroom with whirlpool bath.  Attached is another one bedroom unit with a bed, sitting area and kitchenette.  We had our daughter say in that unit and she loved the idea she could shut the door between the units and feel like she was alone.


Daughter's room is quite a mess, as usual....


Our hotel complex overlooked a golf course with quite the background. 


That's it so far.  Now I have the practice over and next (post) we are off to view the sights of Beautiful Sedona

A Little About Me and Why I Created This Blog

I am in my upper 50's and have been playing with photo manipulation for over 15 years now.

About 8 years ago my family decided to visit "The Grand Canyon" and that is where this whole 3D thing started.  I didn't want to go and take the same old photos everyone else was coming home with.  Rather I wanted to try and capture the "essence" or "magnificence" of this great wonder of the world.

As I surfed the web I came upon this whole cross-eye 3D photo method of taking photos and I quickly became hooked on the whole idea.

Since then we have been on a number of vacations including two cruises. 

Upon returning from each of these cruises I would visit the cruise chat forum called Cruisecritic.com and write my review of our trip and include some of these 3D photos.  People on this site seemed to enjoy them to the extent that I decided to design this blog and let anyone who wished enjoy them.

A hobbie, or passion, is more enjoyable when shared with others. 

I hope you find something here you enjoy.  Your comments are always welcome.

How to View "cross-eye" 3D Photos

There are many sites on the web that give different approaches to viewing "cross eye" 3D stereo photos.  The one I found which gives the clearest and easiest method can be found here.    This is what they say:

Stereo photographs on computer monitors are normally viewed by slightly crossing the eyes until the two images lock together to form one stereo picture in the centre. If at first you find this difficult, here is a hint on how to go about it.

Hold your thumb in front of your face, about four inches (10 cm) from the tip of your nose. Look at your thumb, but actually direct your attention over it toward the stereo picture on the monitor.


It will probably be out of focus, but the two halves will be nearly overlapped. Adjust the distance of your thumb nearer or farther until you get the stereo picture to lock into one central image.
 
All you have to do now is focus on the monitor without uncrossing your eyes. This is easy for some people, difficult for others. Just remember that eye muscles are like other muscles; you have to train them and, perhaps, strengthen them.
 
Practicing the above exercize will do this. Think of it as aerobics for eyeballs. Even if your eye muscles get tired, you will not harm your eyes viewing stereo pictures. Just don't overdo it until you become comfortable with it. If you build up your muscles a little at a time, holding your eyes in the crossed position will soon become as restful as normal viewing.


I have chosen this photo for you to practice with as it has proven to be one the majority of people have had success with and the 3D effect is more pronounced.  Once you practice with this one and become acustomed to the feeling of your eyes when viewing, the other will be easier to view.

Please let me know if you are getting any success with this or if you need more help.